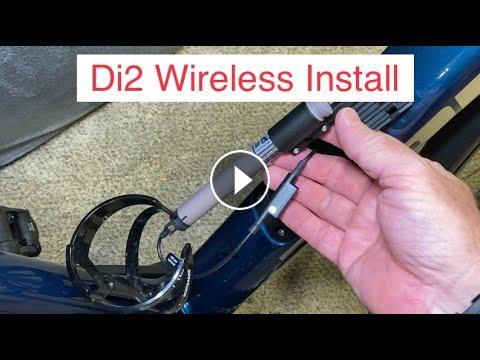
How to Install a Shimano DI2 Wireless Unit in a 2021 Trek Domane SL7 #di2 #trekbike #shimano
302 Views
Added
Step-by-step instructions on how to install a Shimano DI2 wireless unit into a 2021 Trek Domane SL7 road bike.If you found this video helpful and would like to help support the channel, please consider buying me a coffee!
https://www.buymeacoffee.com/dmonyery
Amazon affiliate links for the parts and tools in the video:*
Shimano Di2 wireless unit: https://amzn.to/3uDB6Ko
Shimano Di2 150mm cable: https://amzn.to/3FfPJZj
Shimano Di2 connector plug tool: https://amzn.to/3AaMeQ4
Bike Hand Twin Head Hex Allen Wrenches Set: https://amzn.to/3lyoaTg
Spare Parts for the Di2 system:
SHIMANO BT-DN110 Di2 Battery: https://amzn.to/3KaY4Ph
SHIMANO Di2 Internal Battery Charger: https://amzn.to/3vcV1SA
I found the best place on this particular Trek is to install it in line with the battery which is located in the down tube. It is accessible pretty easily from the hidden storage access door under the water bottle cage mounts.
These instructions will work on most bikes but the location of the di2 wireless unit will be different depending on the location of the junctions and battery on your particular bike.
This is a super clean install and is completely hidden within the bike.
Also see the article: http://www.davescycling.com/how-to-check-shimano-di2-battery-level
And Shimano Di2 Charging Instructions: https://davescycling.com/shimano-di2-charging-instructions/
Time codes:
0:00 Introduction to DI2 Wireless Unit installation
1:19 What you need
2:39 Connection Diagram
3:25 Battery Compatibility for Di2 Wireless Unit
3:53 battery location on the bike
4:11 BT- DN110 battery removal
5:30 battery part number identification
5:55 How to disconnect the Di2 battery wire
6:30 How to use the Shimano DI2 plug tool
6:58 How to wire in the Shimano DI2
wireless unit
8:50 Testing the DI2 wireless unit
9:00 Adding the DI2 wireless unit sensor to a Wahoo Elemnt
10:00 Viewing gear changes on the Wahoo Elemnt
10:35 securing the wireless unit inside the down tube
11:50 Re-securing the battery holder screws
12:18 Securing the wires
13:31 Final testing
*Product links in this description may be affiliate links. This channel will receive a small commission at no cost to you if you make a purchase through these links. Your support is greatly appreciated!


Comments